Setting up
After you’ve installed Hollo, you need to set it up. This guide will walk you through the process of setting up Hollo on your server.
-
Go to https://yourdomain/setup where yourdomain is your domain name.
-
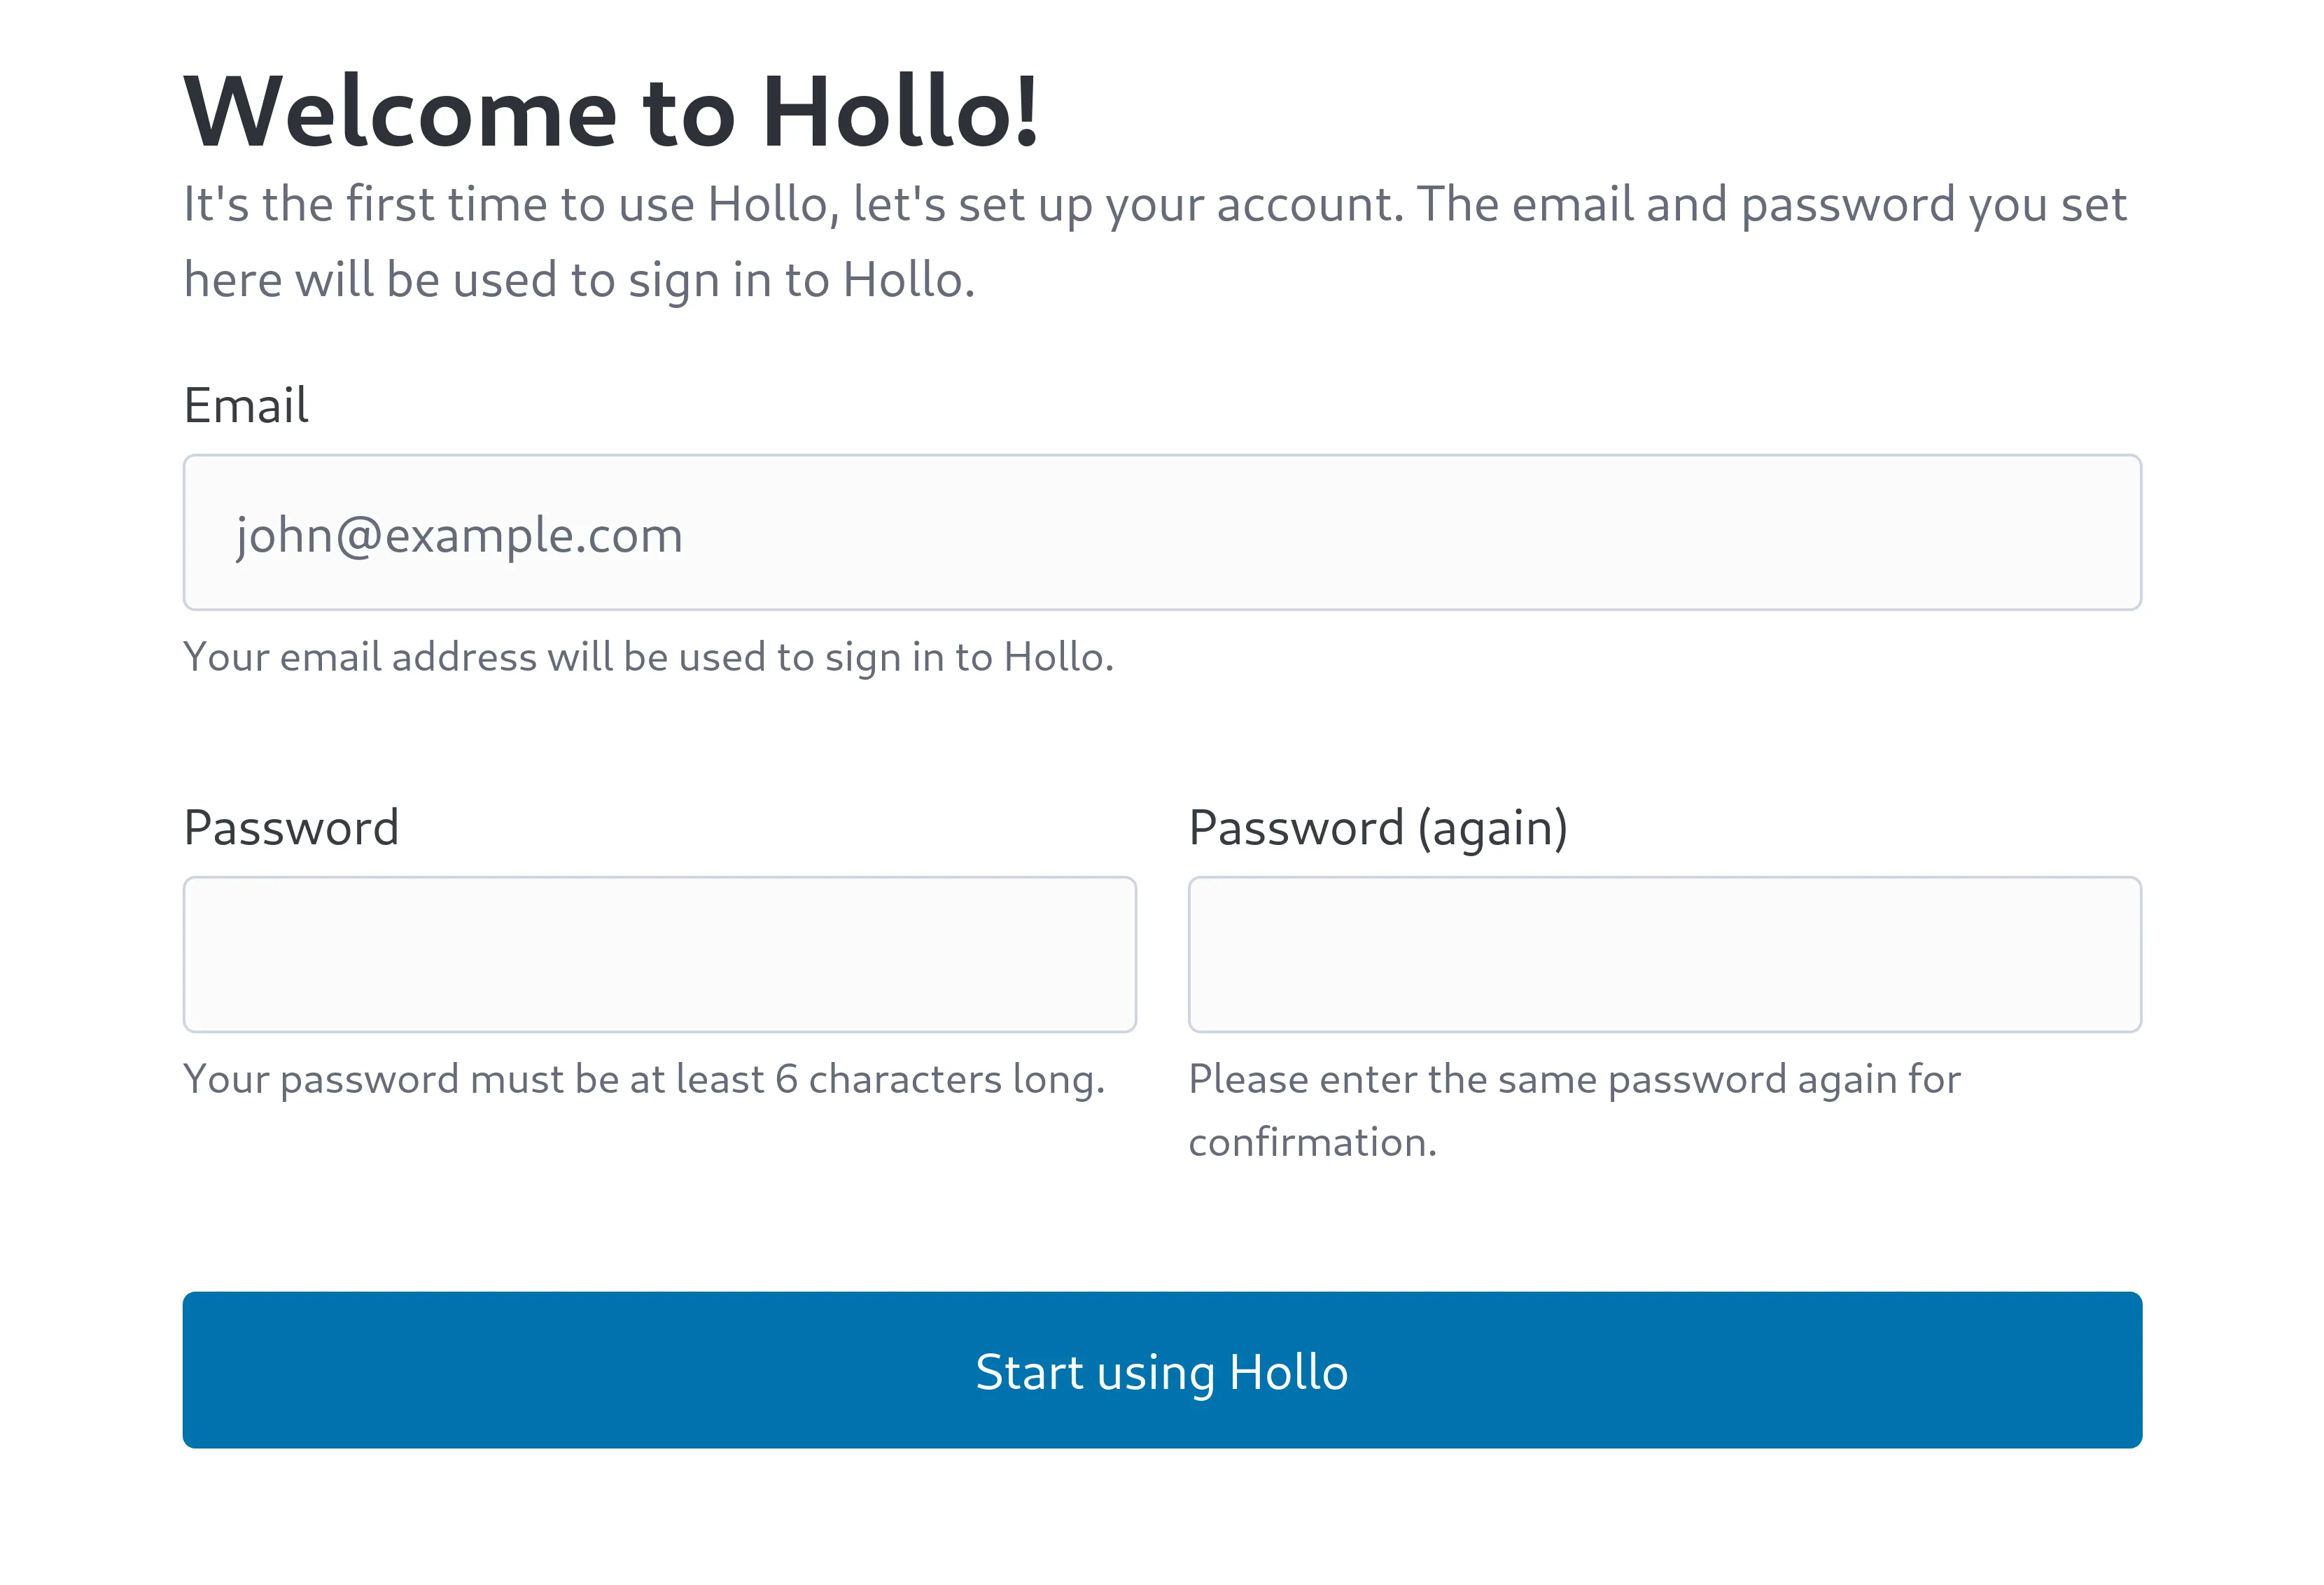
Set up your login credentials.
-
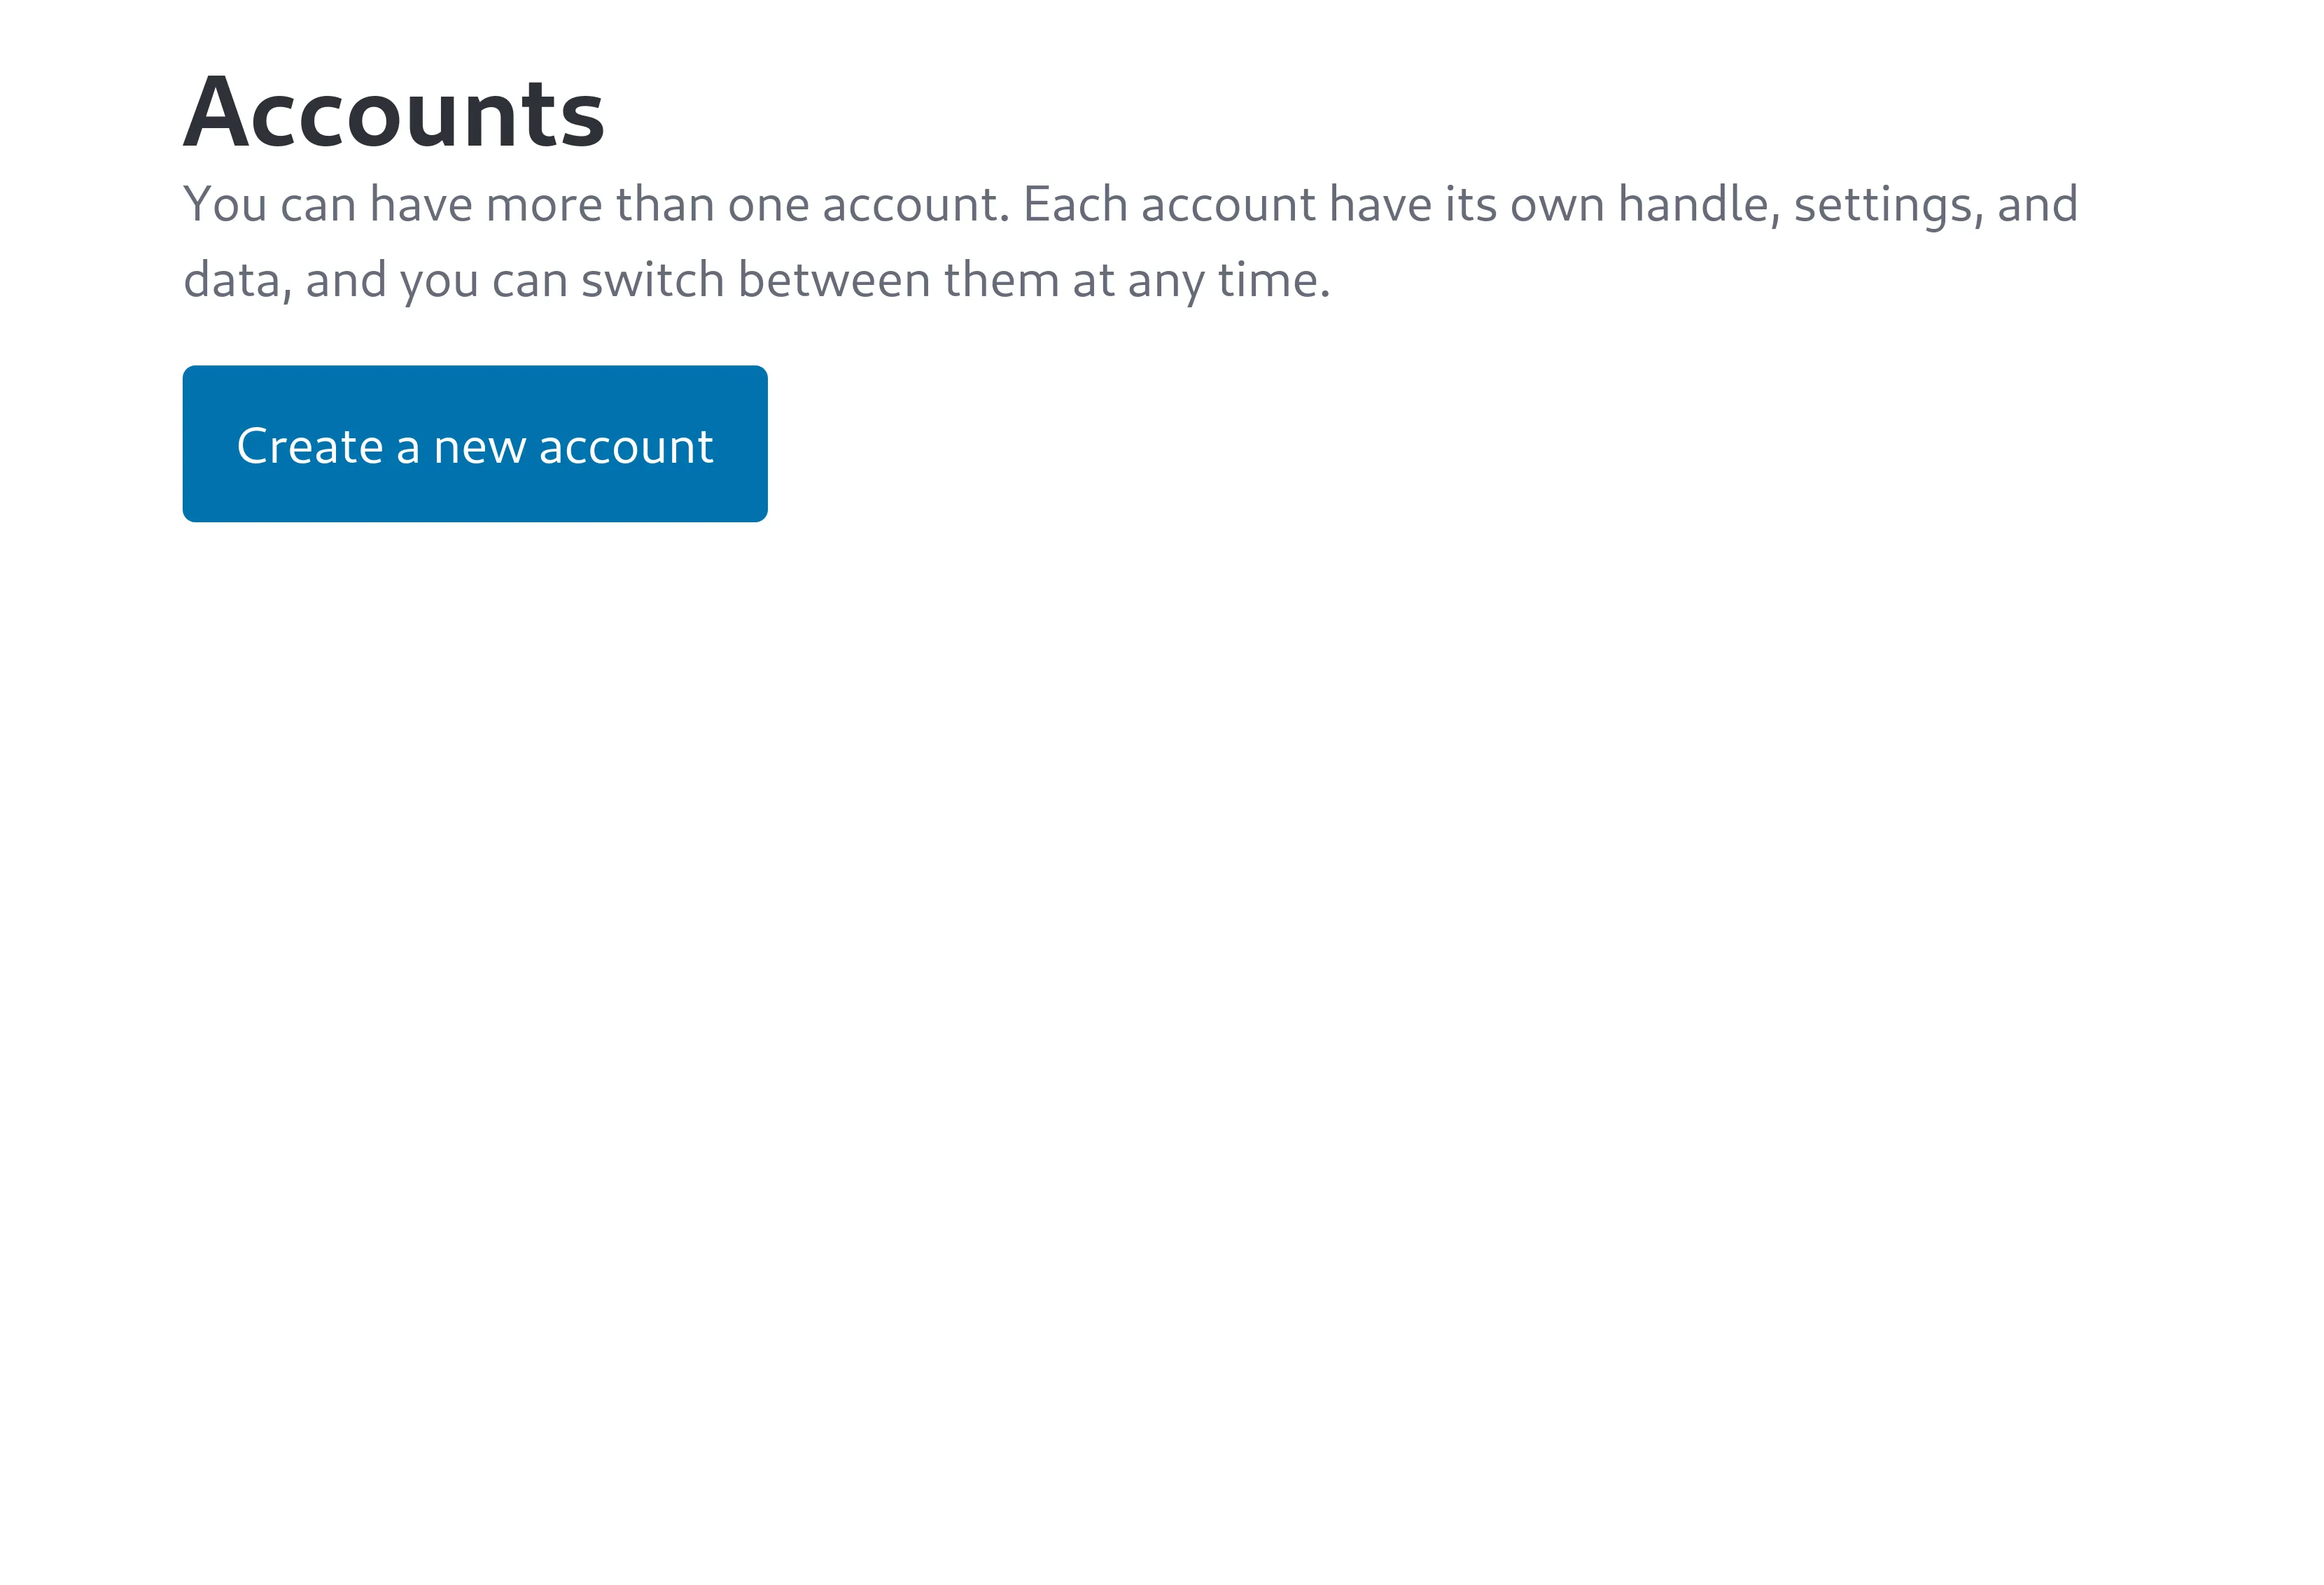
You’ll see the empty Accounts page. Click the Create a new account button.
-
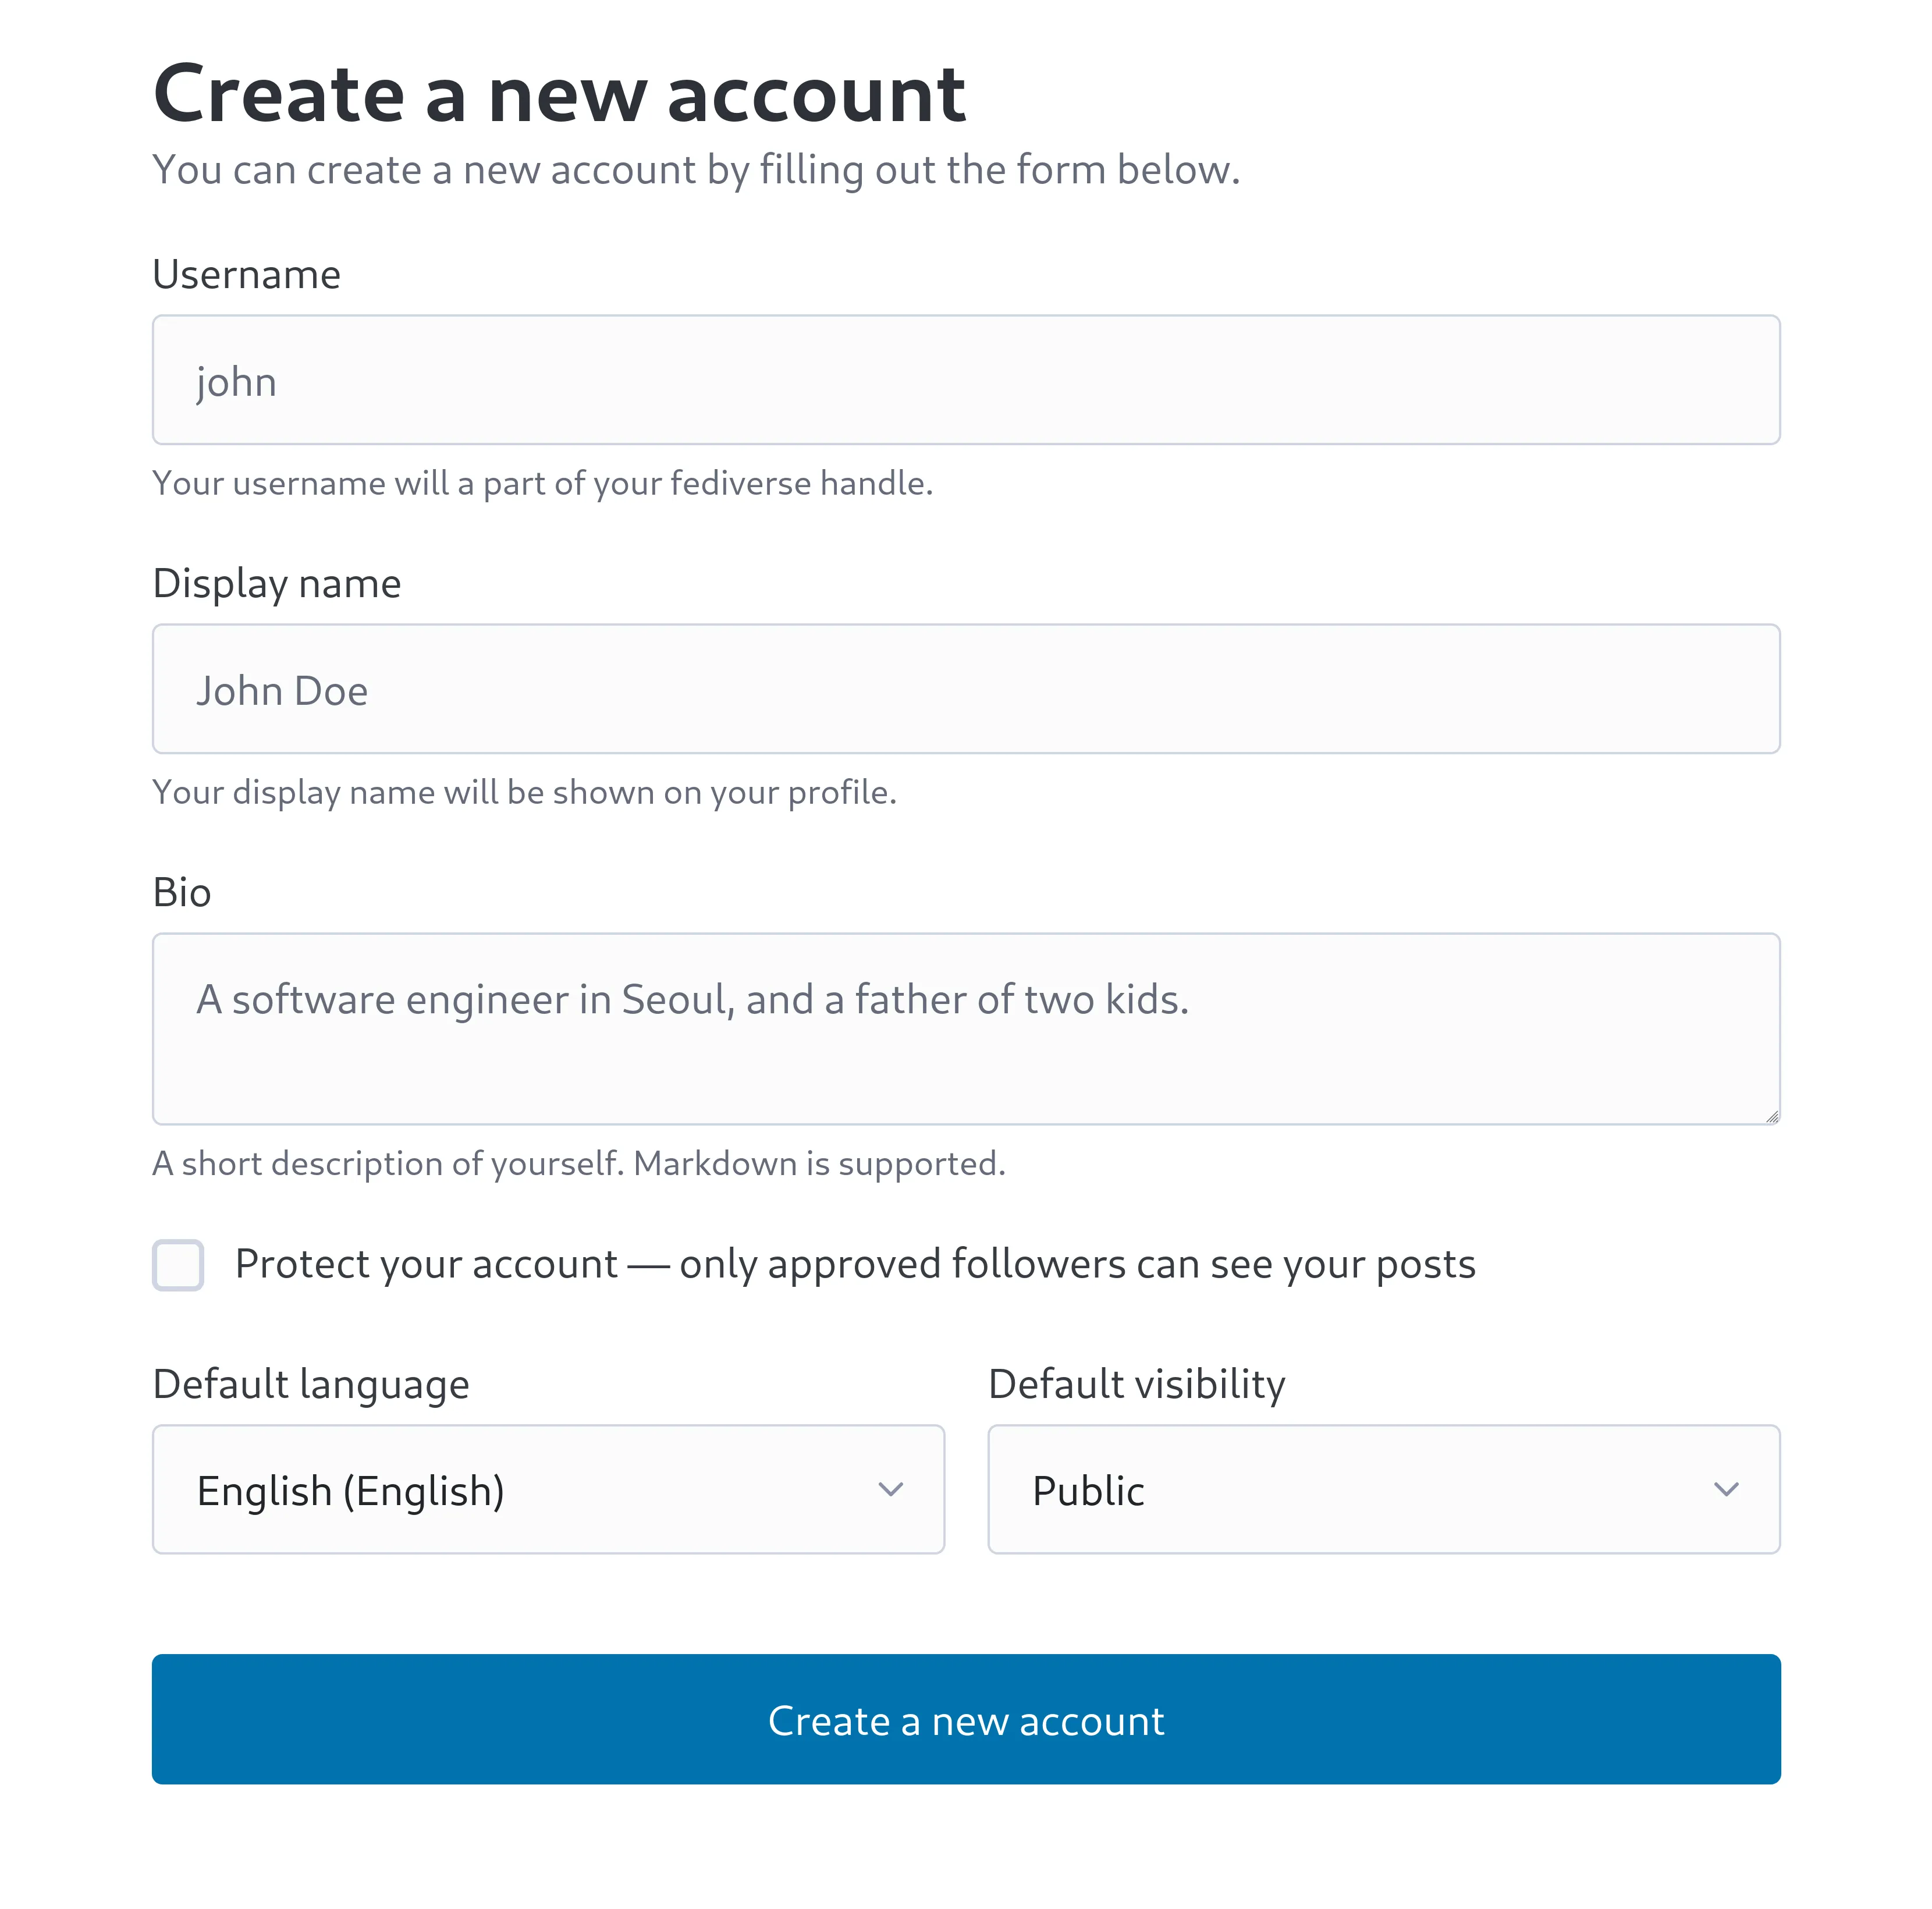
Fill out the form to create your account. All fields except for the Username field can be changed later.
-
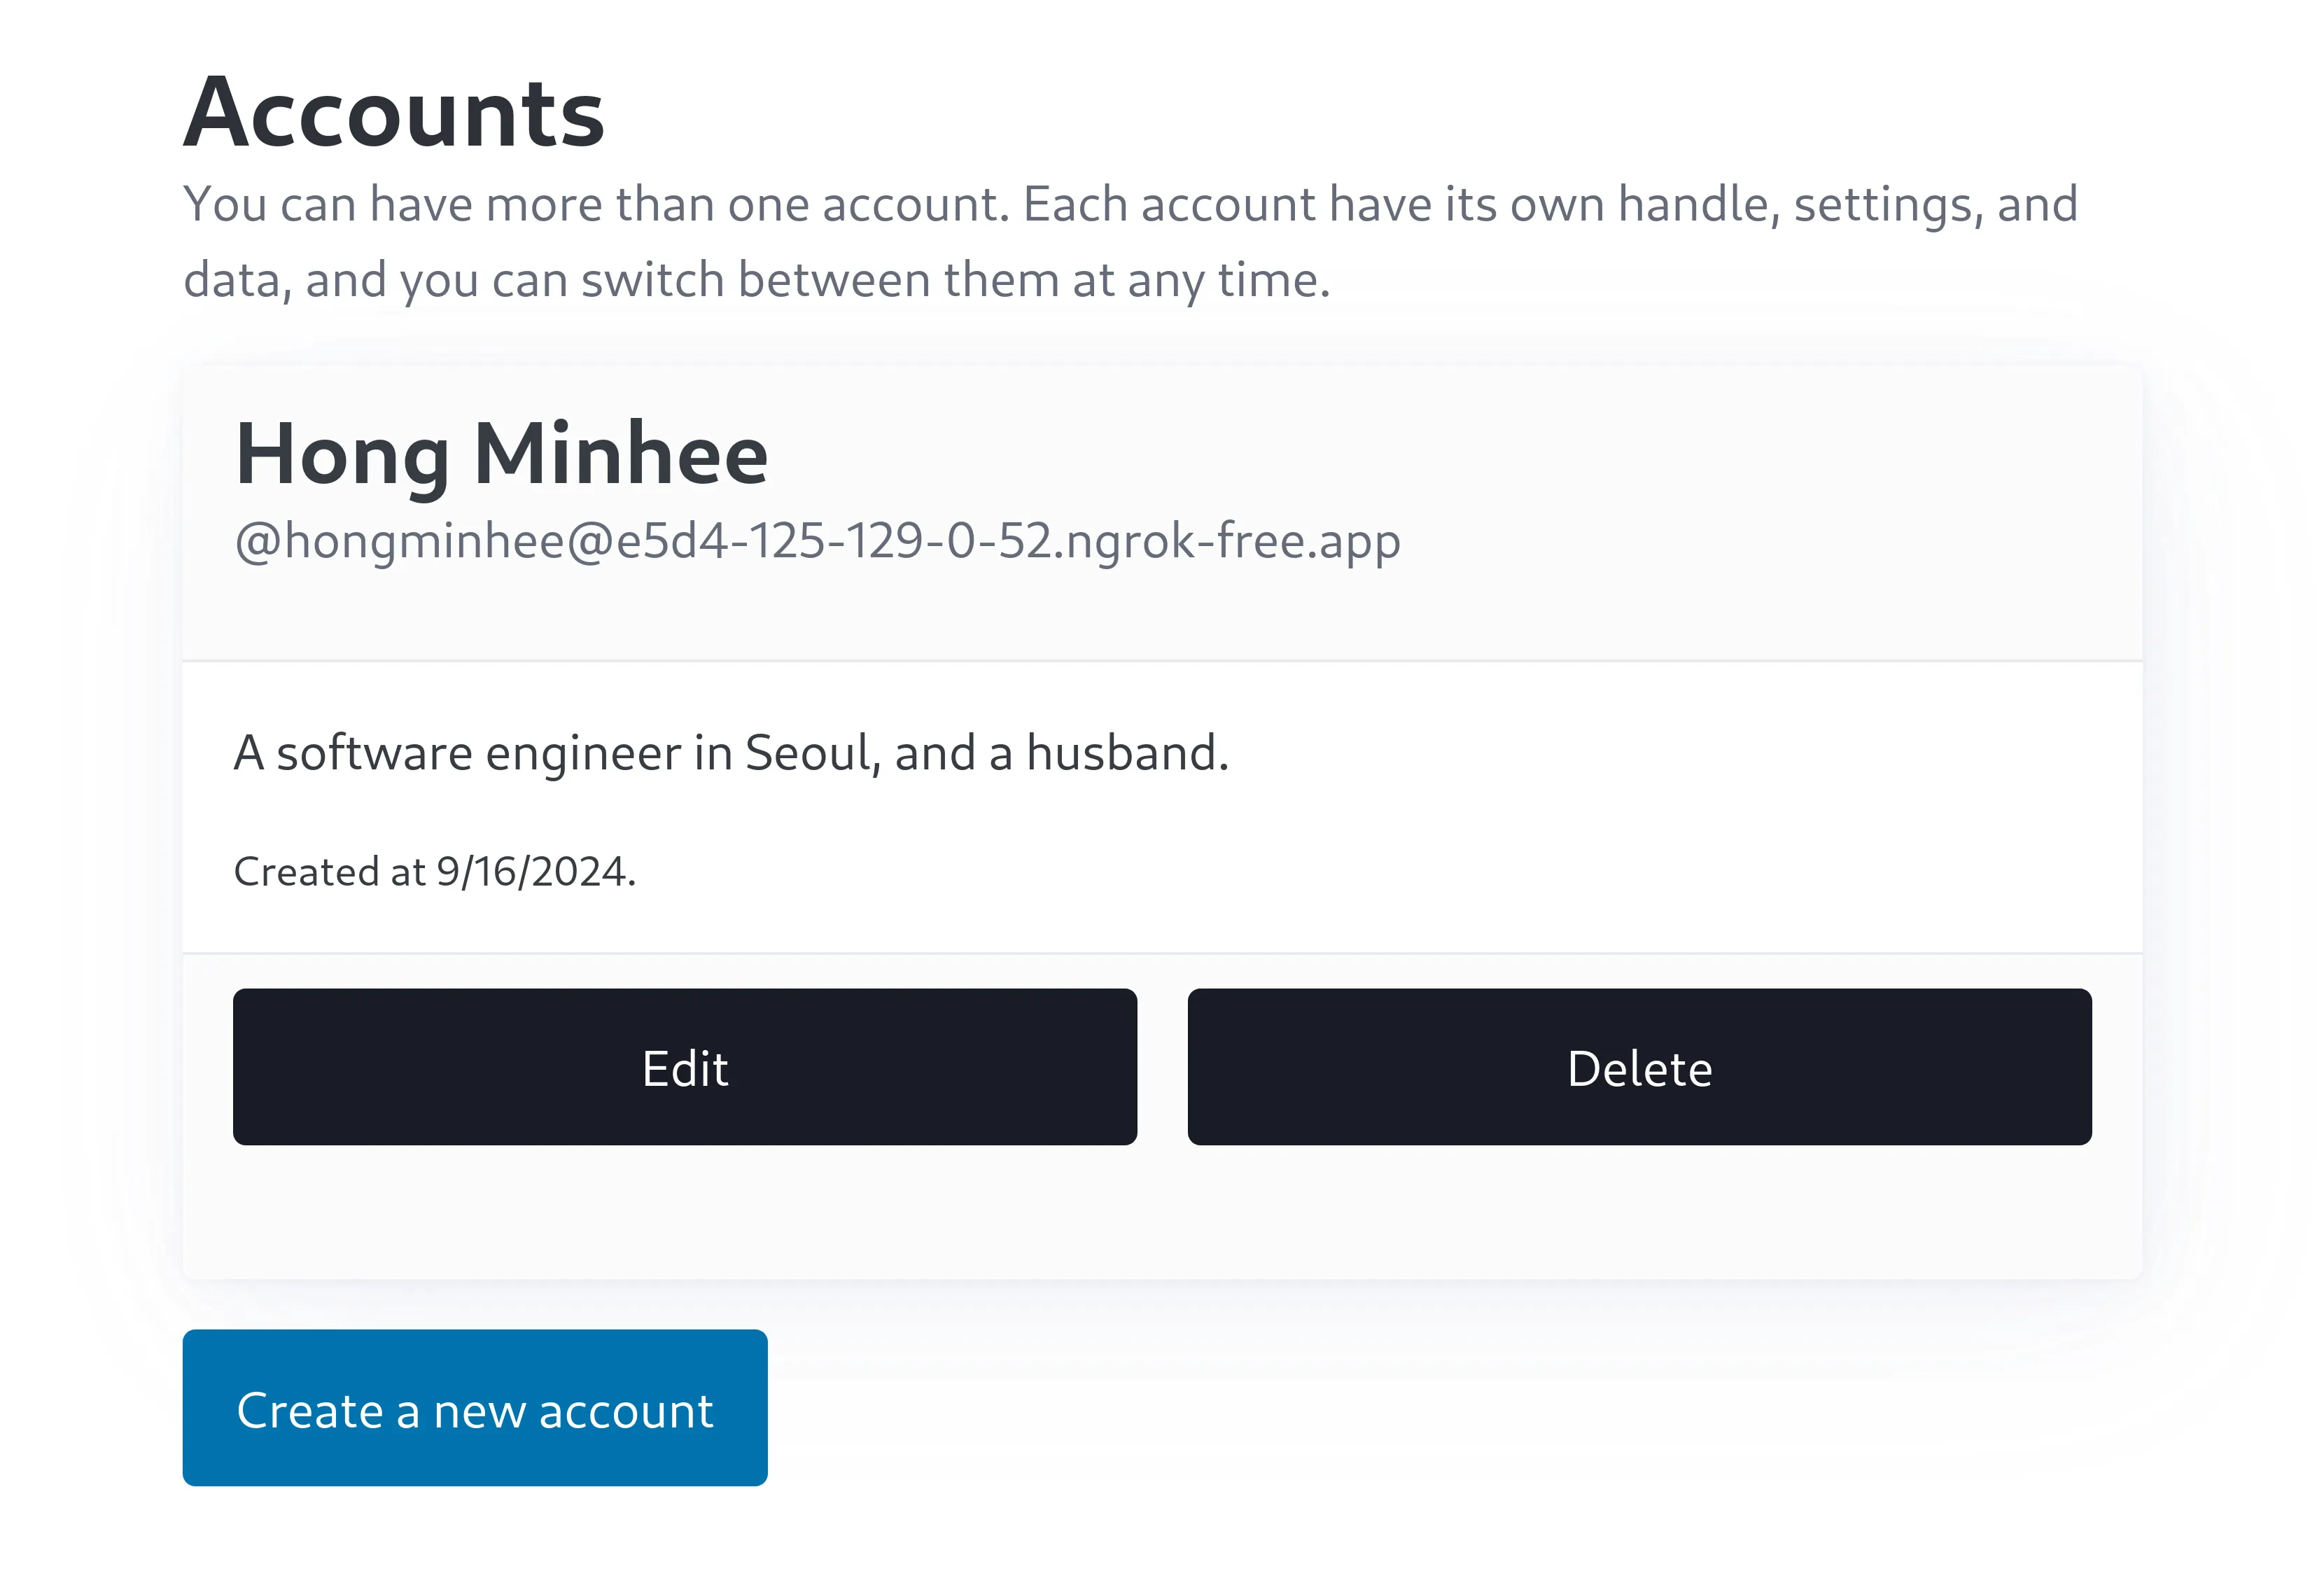
After you’ve created your account, you’ll see the Accounts page with your account listed.
-
Since Hollo is headless, you’ll need to use a Mastodon-compatible client app like Phanpy to interact with it. Here we use Phanpy as an example.
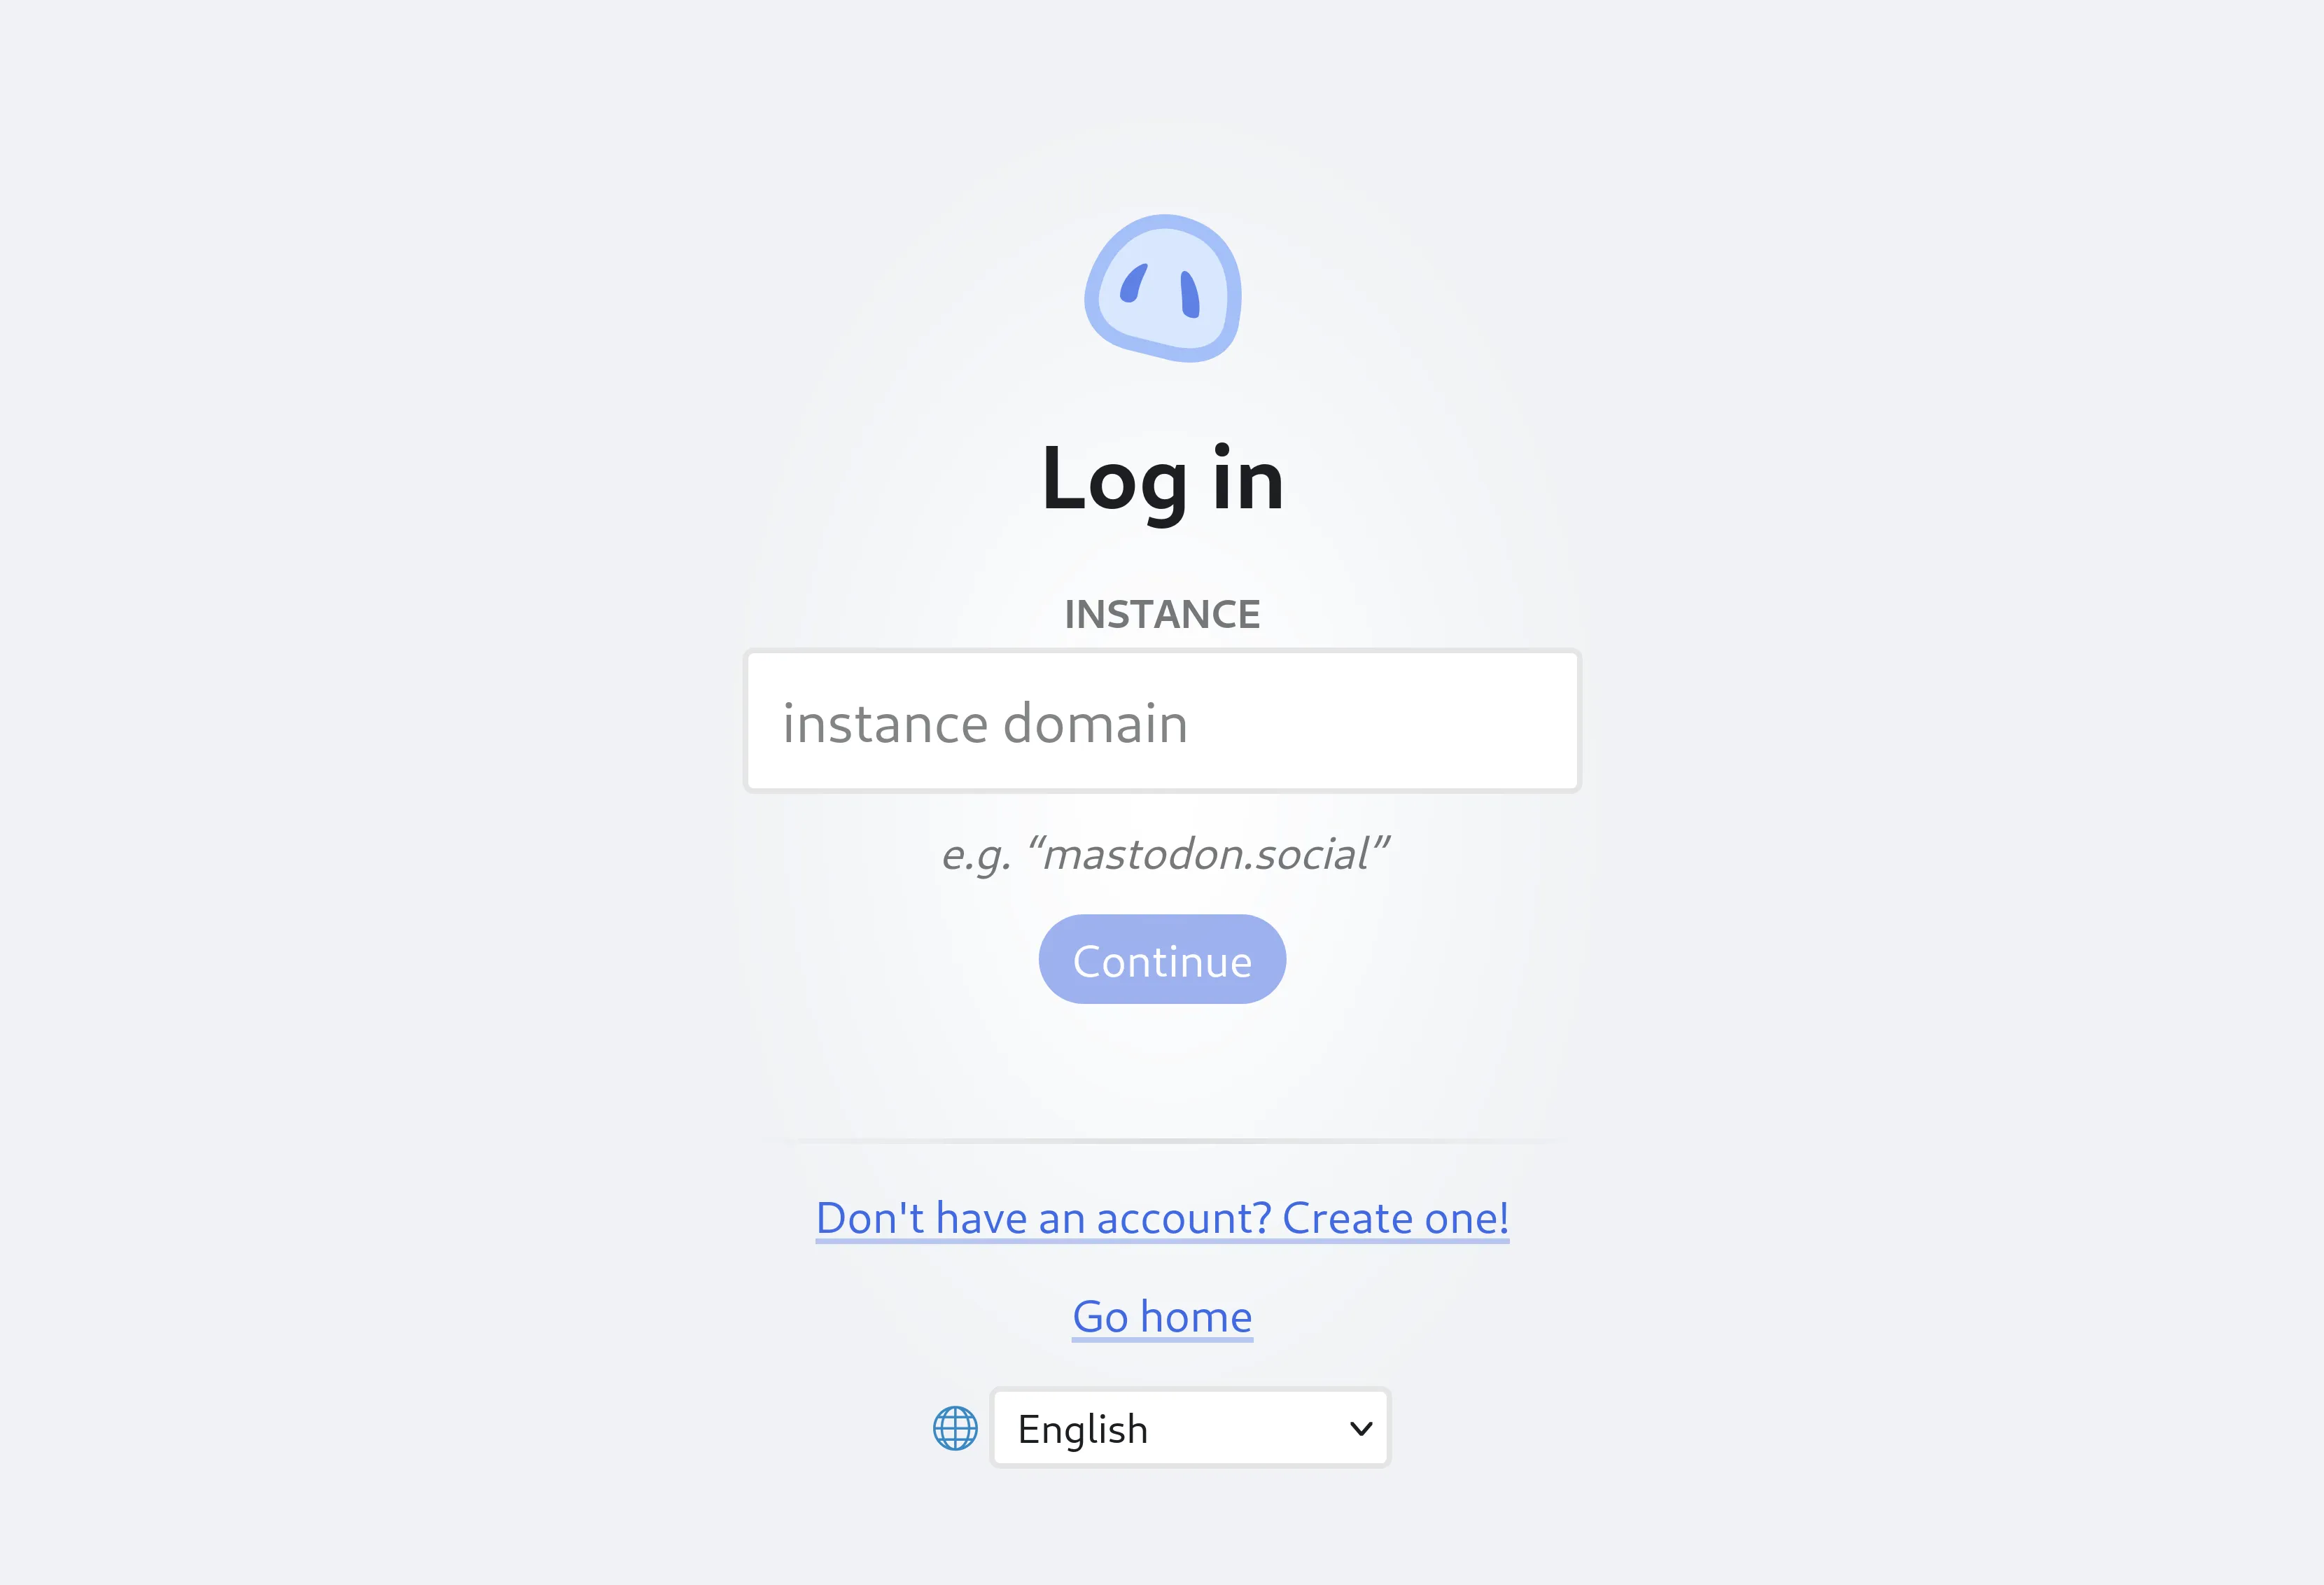
Go to https://phanpy.social/ and click Log in with Mastodon button to start logging in.
-
Enter your Hollo domain name and click Continue.
-
At this point, you may be asked to sign in to your Hollo account. Enter your username and password and click Sign in.
If you’re not asked to sign in, skip to the next step.
-
You’ll see the Authorize Phanpy page. Click Allow to authorize Phanpy to access your Hollo account.

-
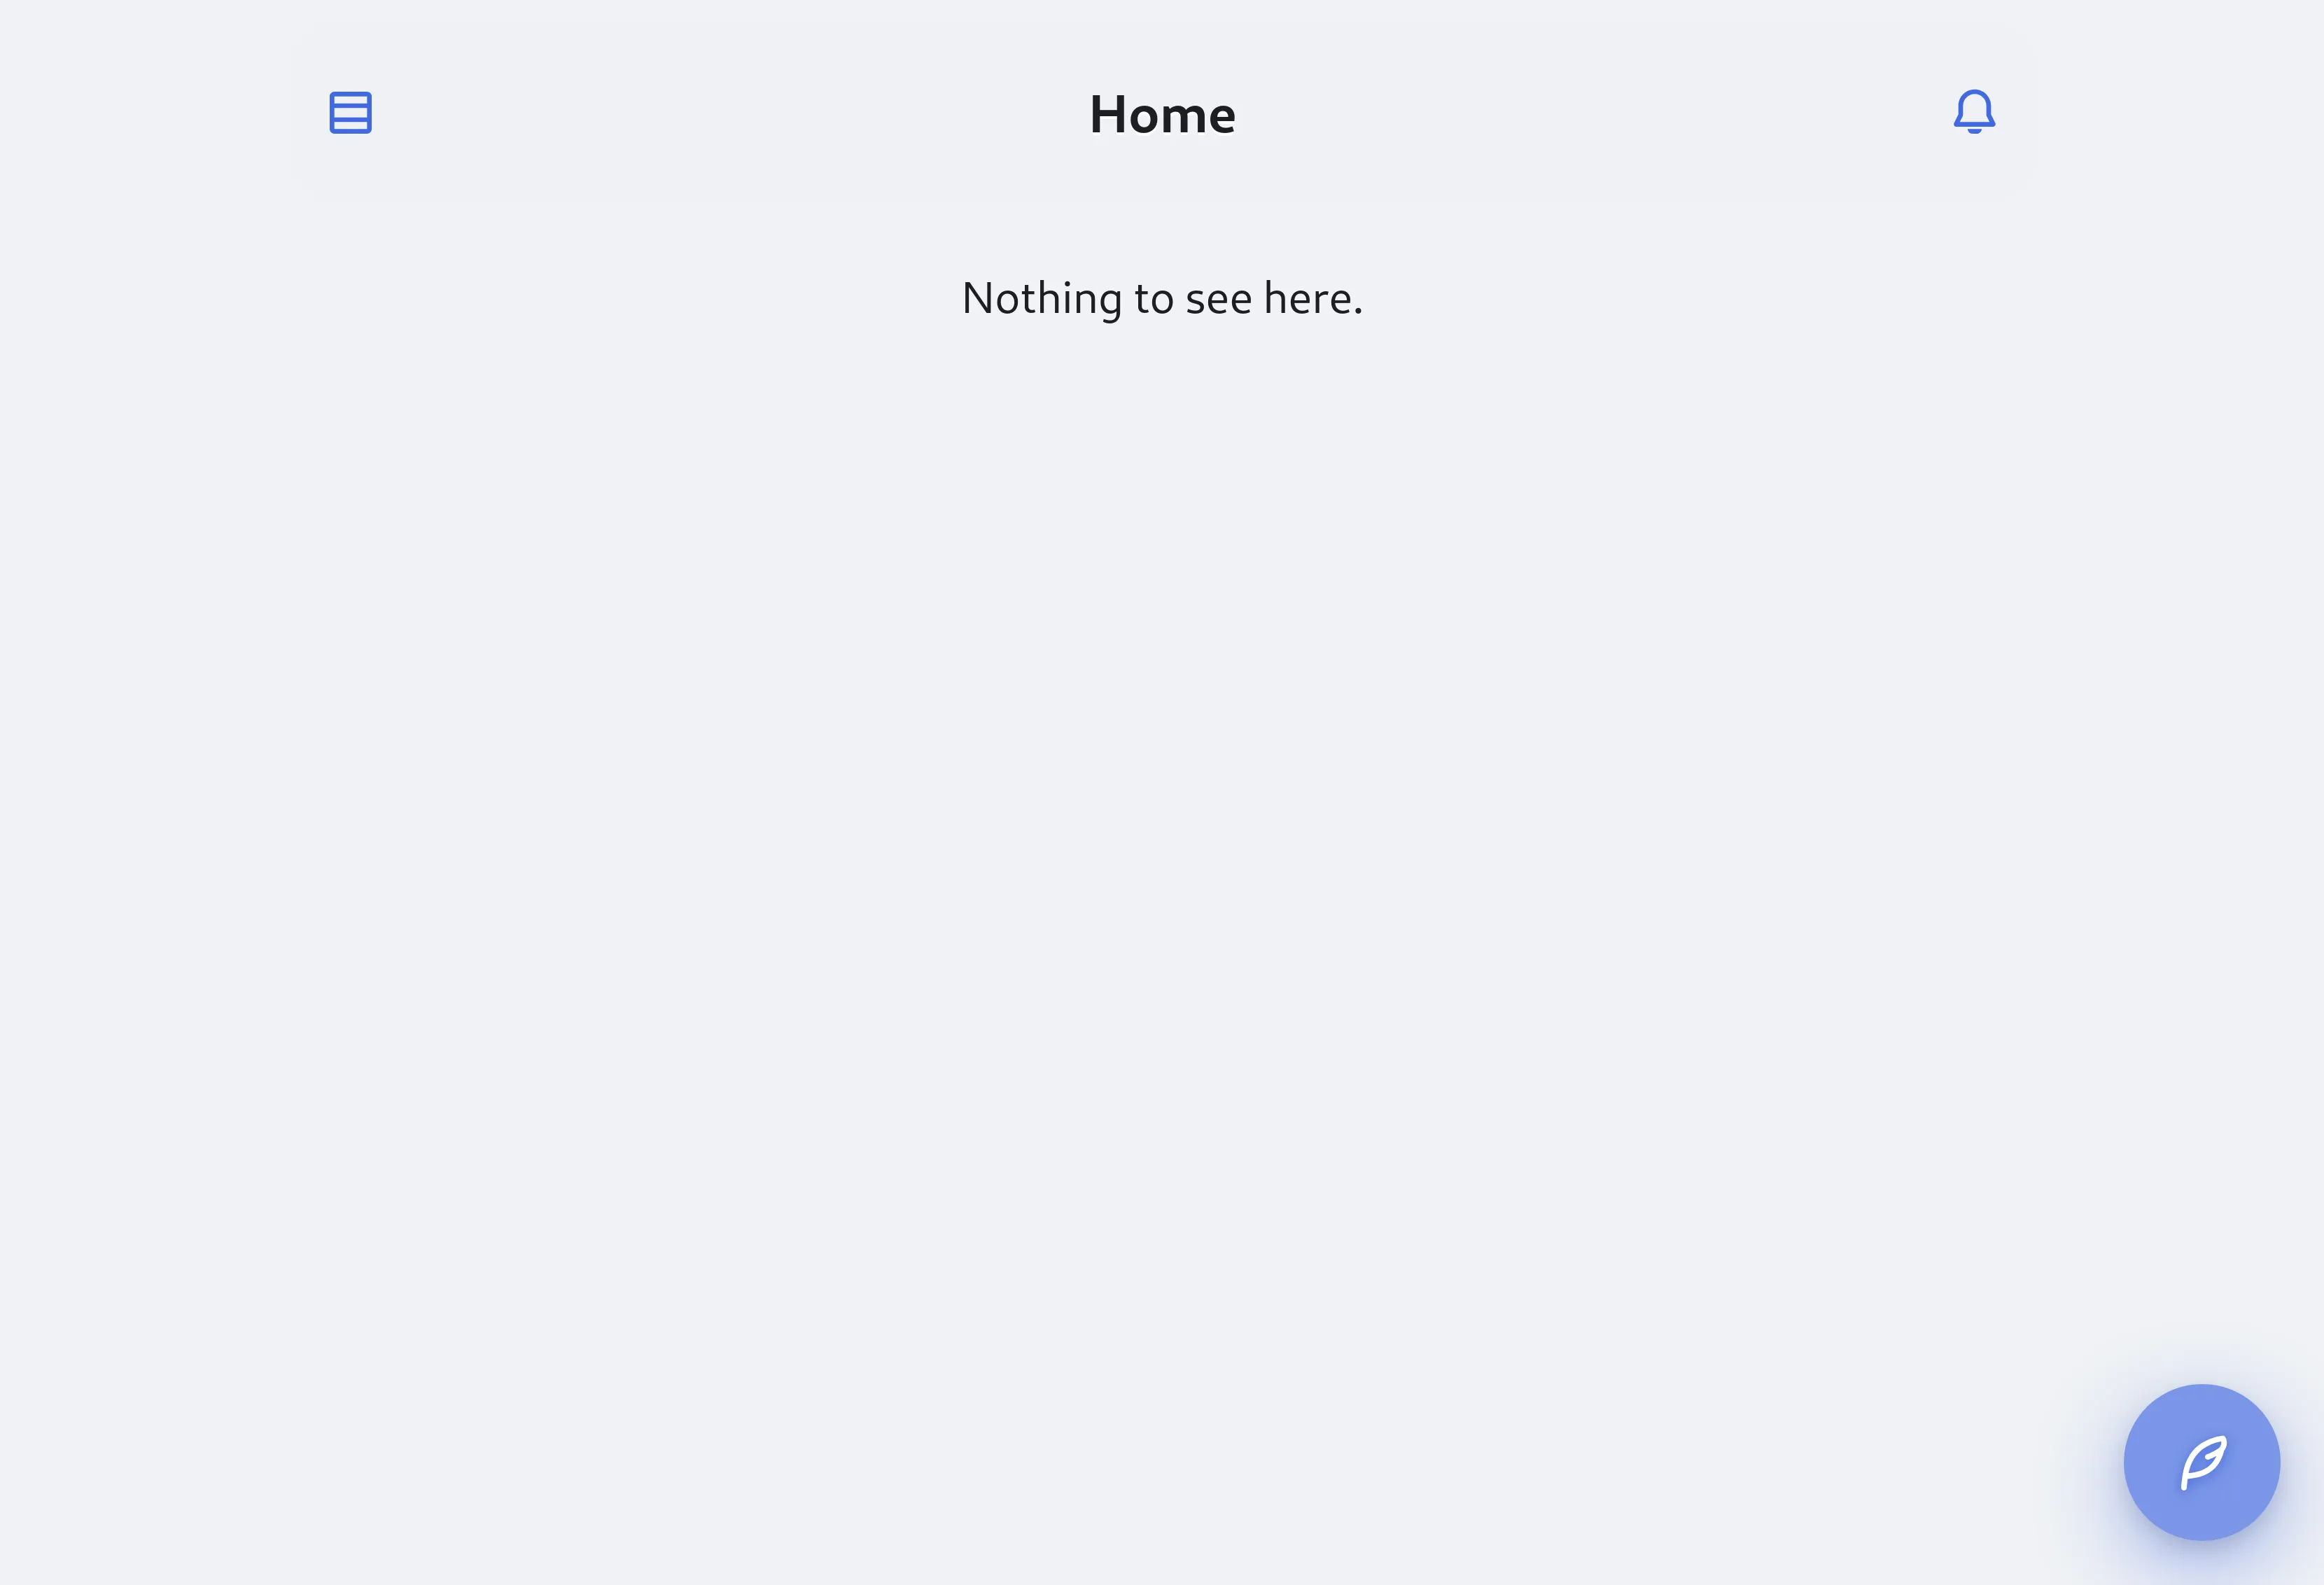
That’s it! You’re now logged in to your Hollo account using Phanpy.
The timeline will be empty at first, but you can start posting and following other users. If you want to follow the official Hollo account, search for
@hollo@hollo.socialand click the Follow button in the profile page.Enojoy!